- Engineering
- Measuring systems
- Machine qualification
-
Components
-
Systems
-
Learn more
-
- Expertise
-
About IBS
-
Our Story
-
Learn More
-
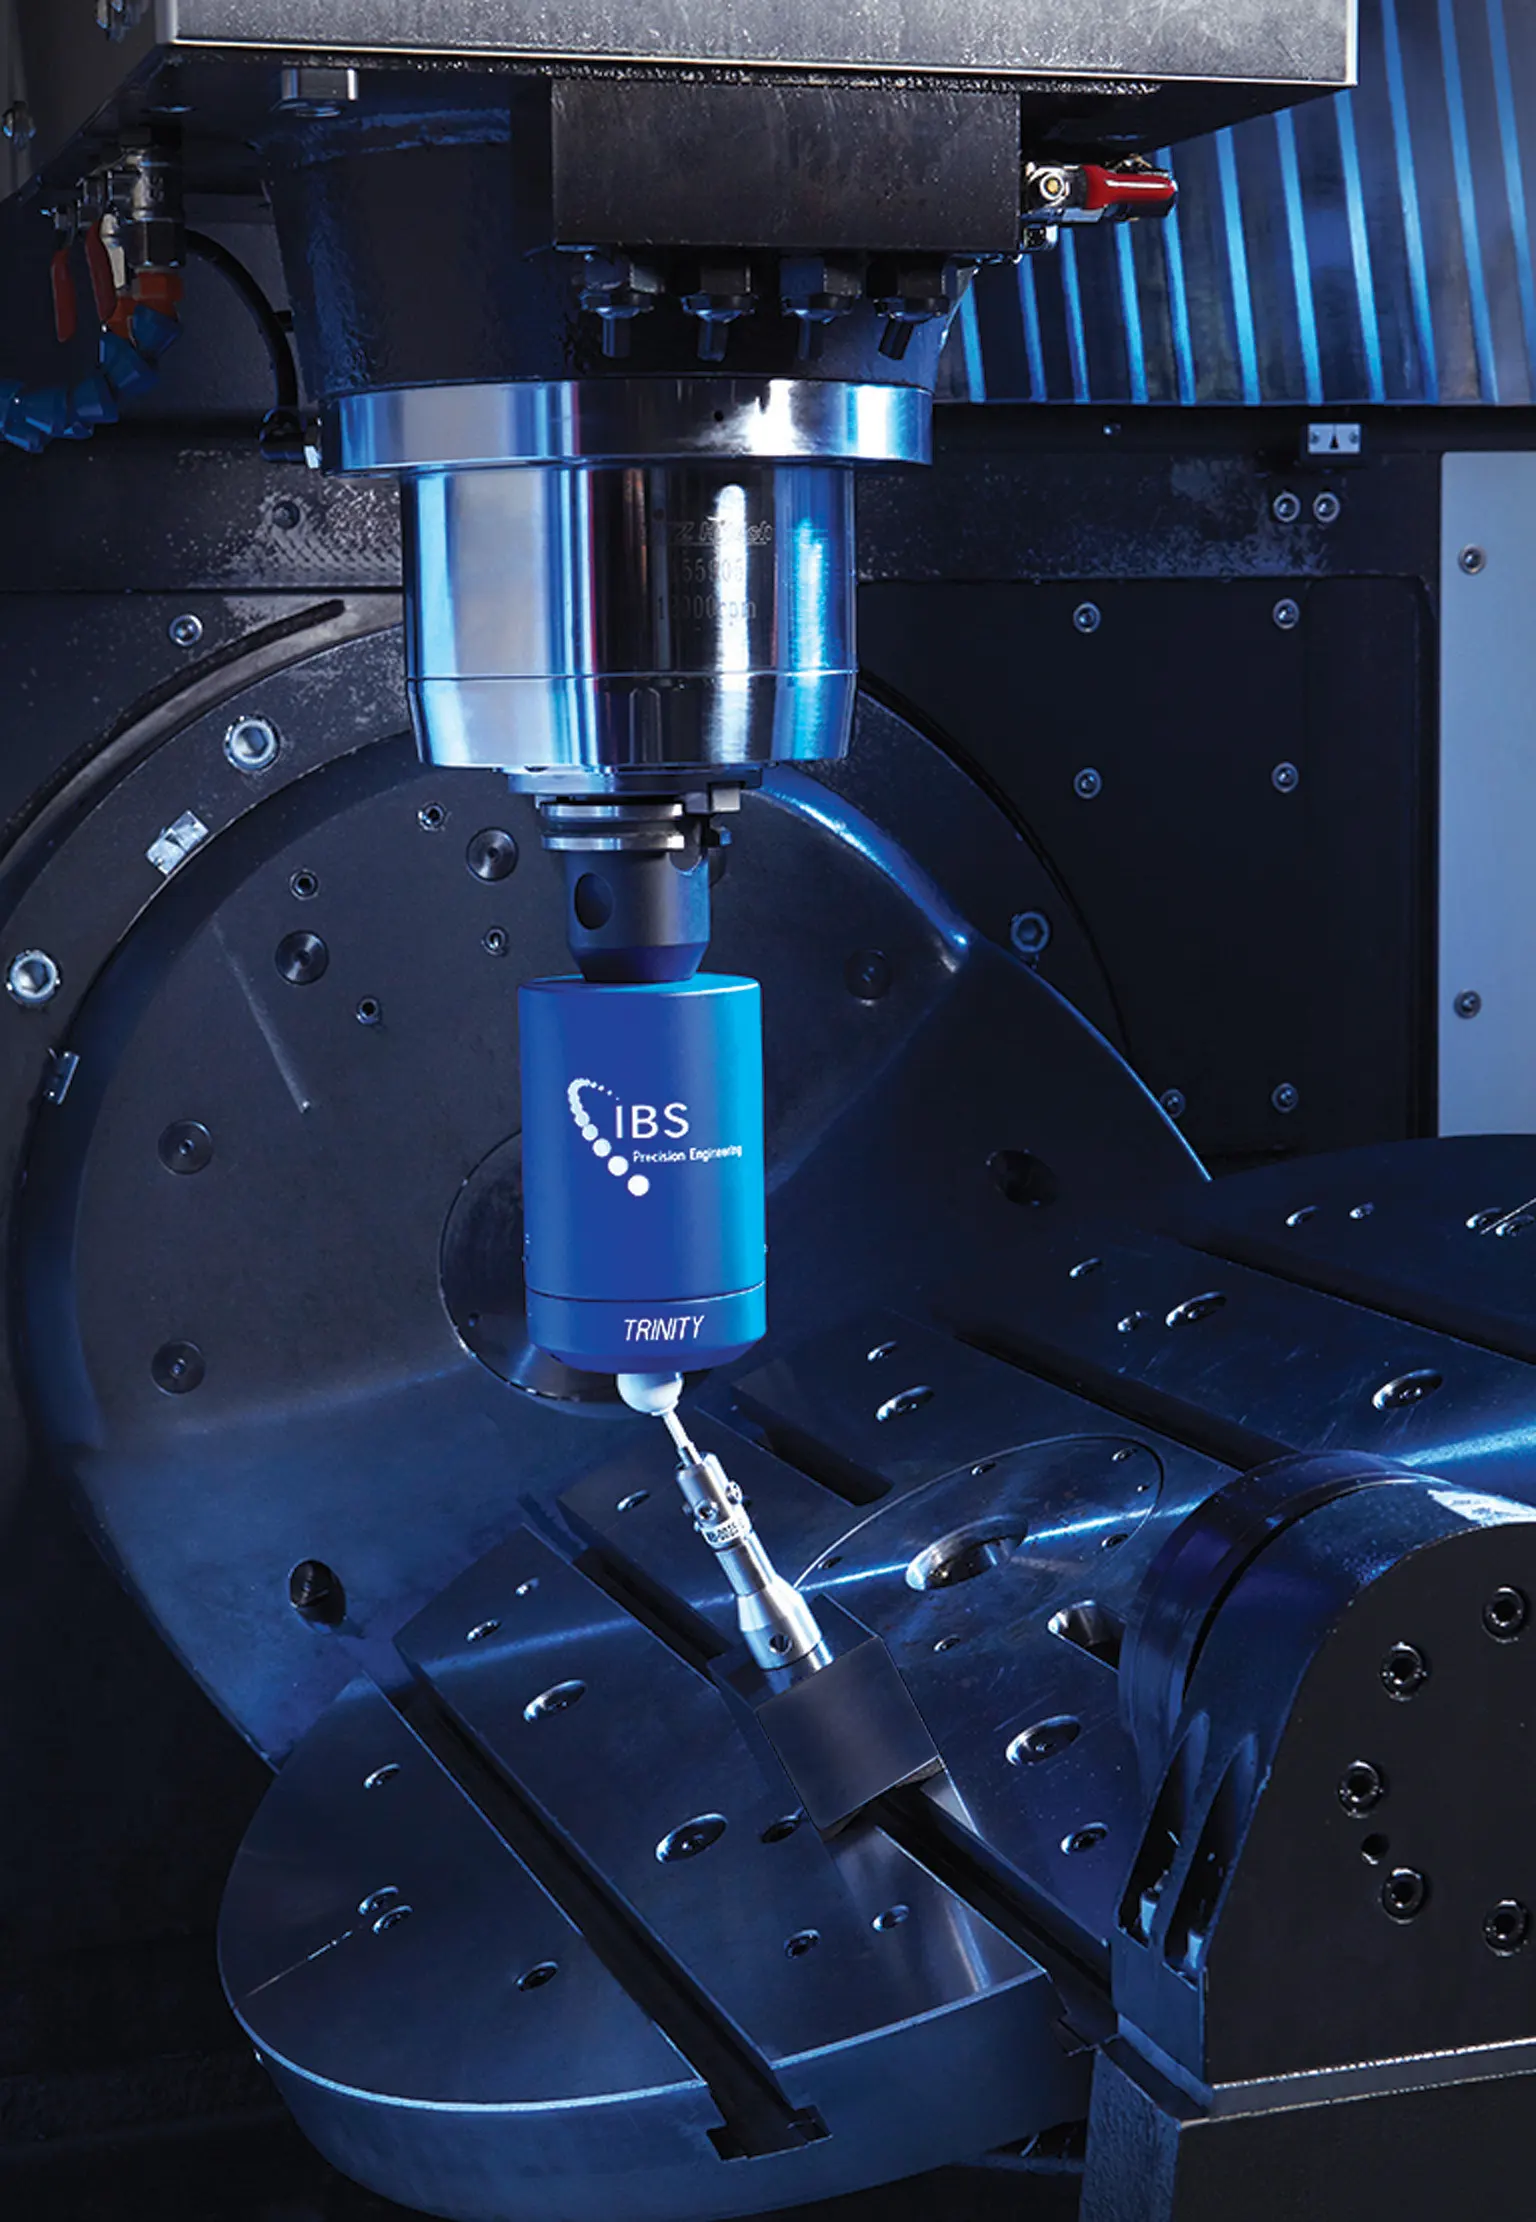
Qualifying the performance of 5-axis machines can be complex. The Rotary Inspector measurement system provides a revolutionary method to simplify this process; enabling rapid assessment and correction of the kinematic performance.
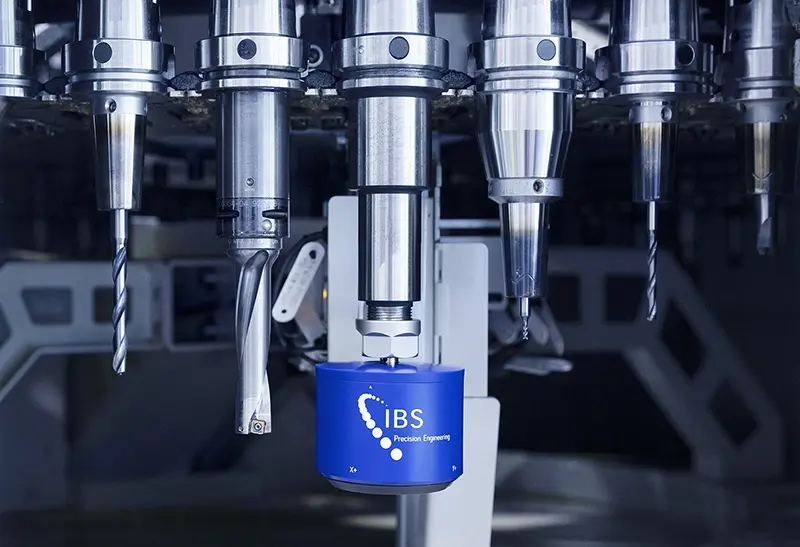
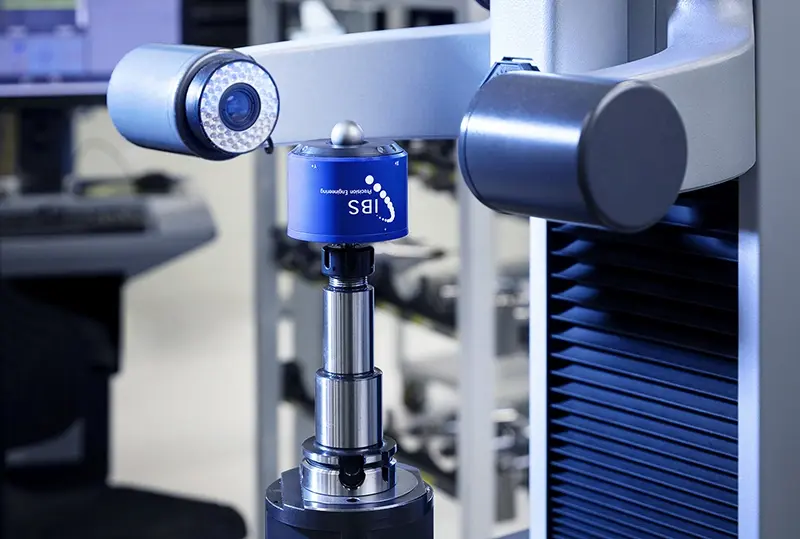
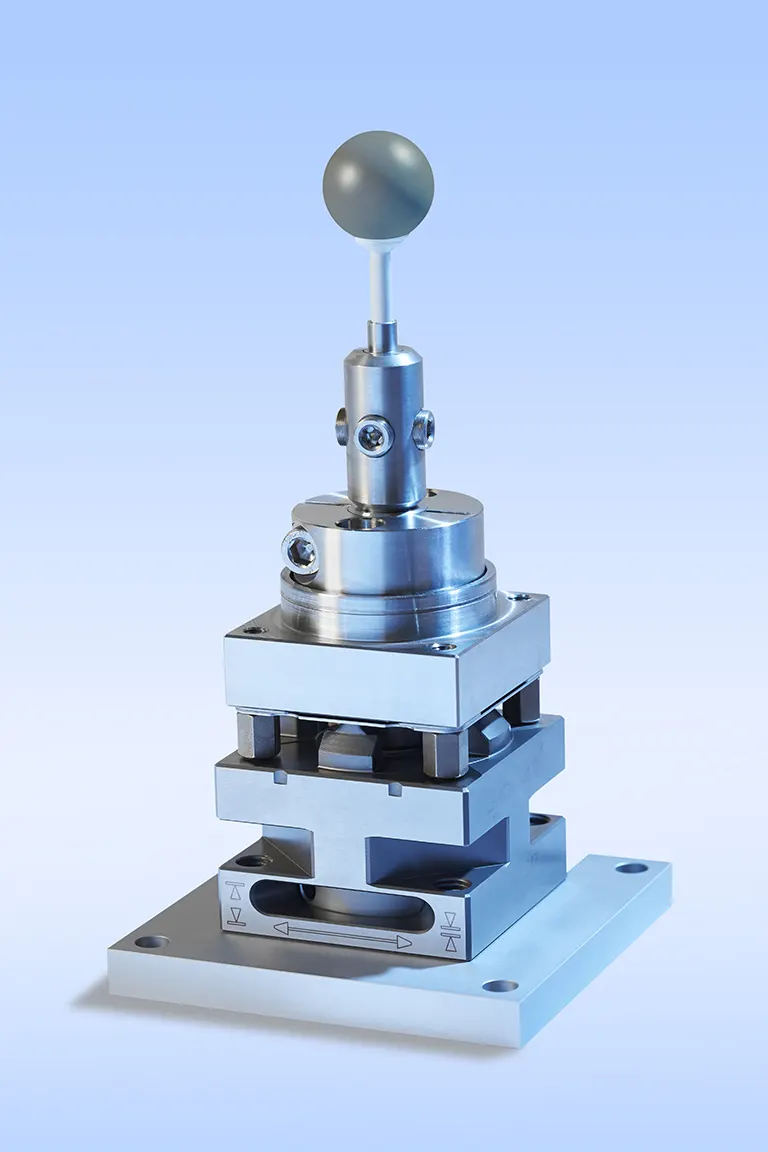
The Rotary Inspector consists of a master ball that is placed on the machine table and a wireless measurement probe inserted in the spindle. The machine is commanded to rotate the first rotary axis whilst two linear axes follow. The probe in the spindle represents the tool path and the master ball the workpiece. The probe measures the relative positioning error in X, Y and Z directions at the Tool Centre Point (TCP). This 3-axis test is repeated for the second axis followed by a full 5-axis test. Rotary axis pivot line and squareness errors are measured plus the 5-axis volumetric and dynamic errors over the full 3D volume of the machine. Automatic compensation is available as an option.
Provided in the Rotary Inspector kit:
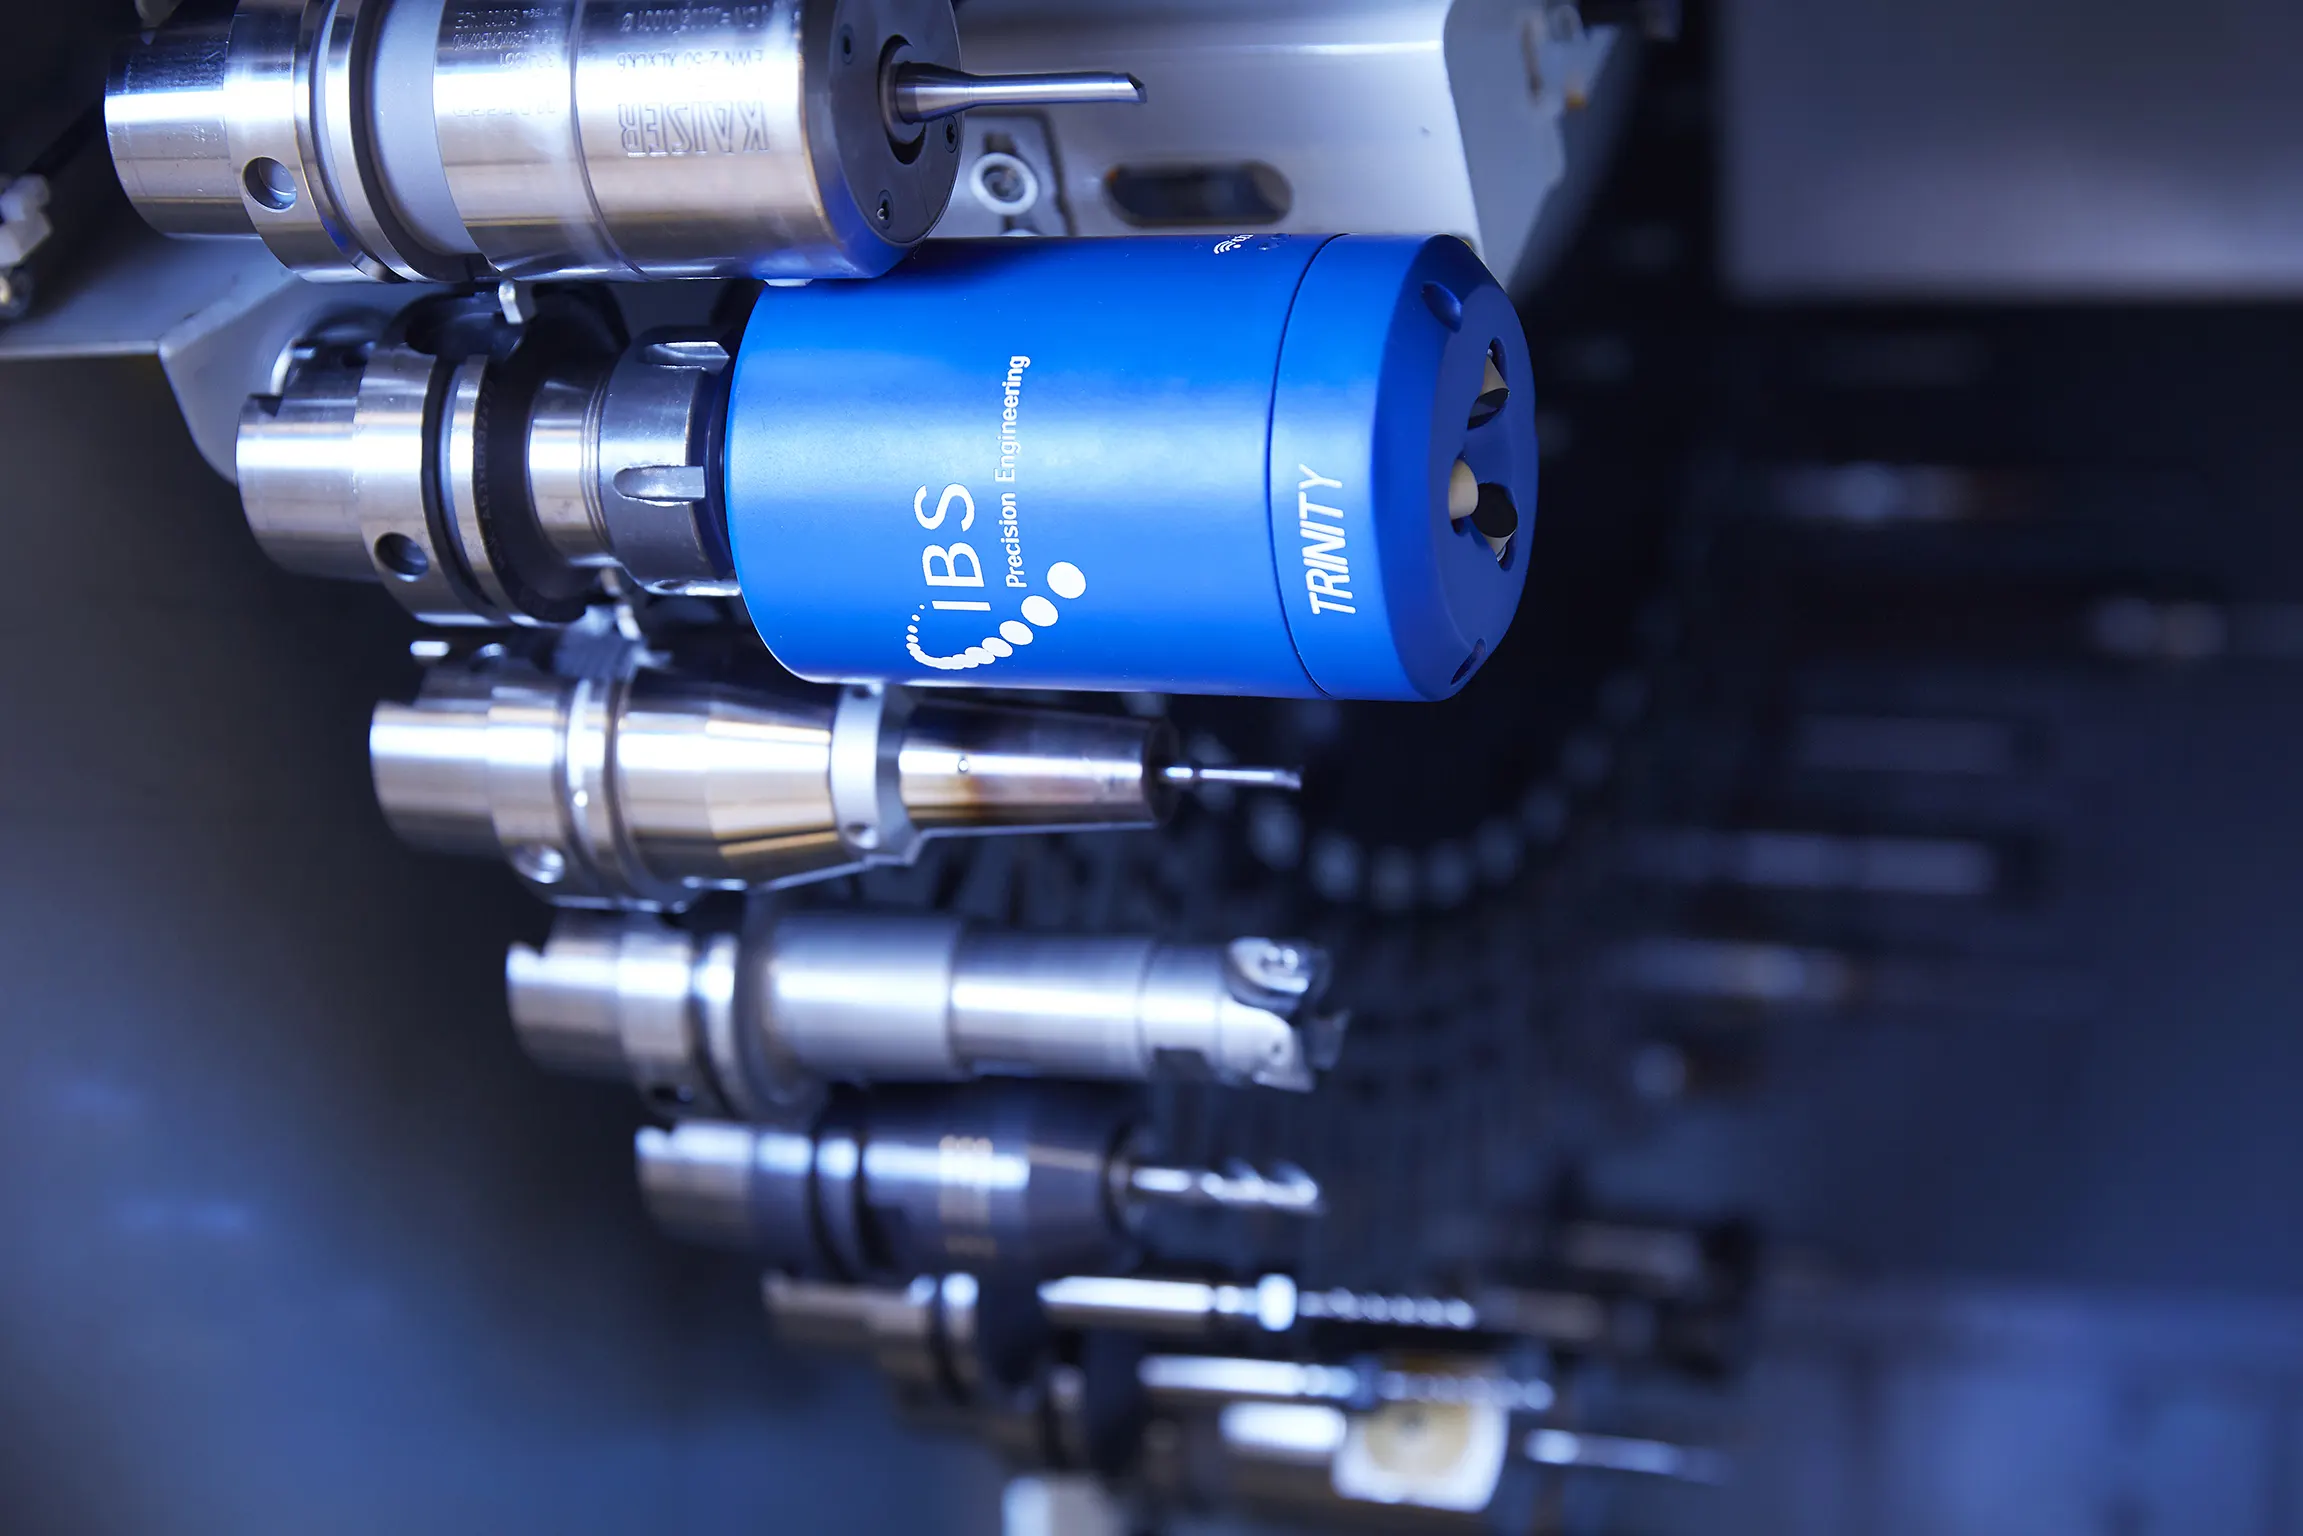
The Rotary Inspector kit includes a wireless Trinity probe plus battery charger, master ball and mounting accessories plus travel case. The Rotary Inspector Software App is included. A standard NC program library is available for all major machine configurations and controllers. Requested programs are supplied with the kit.
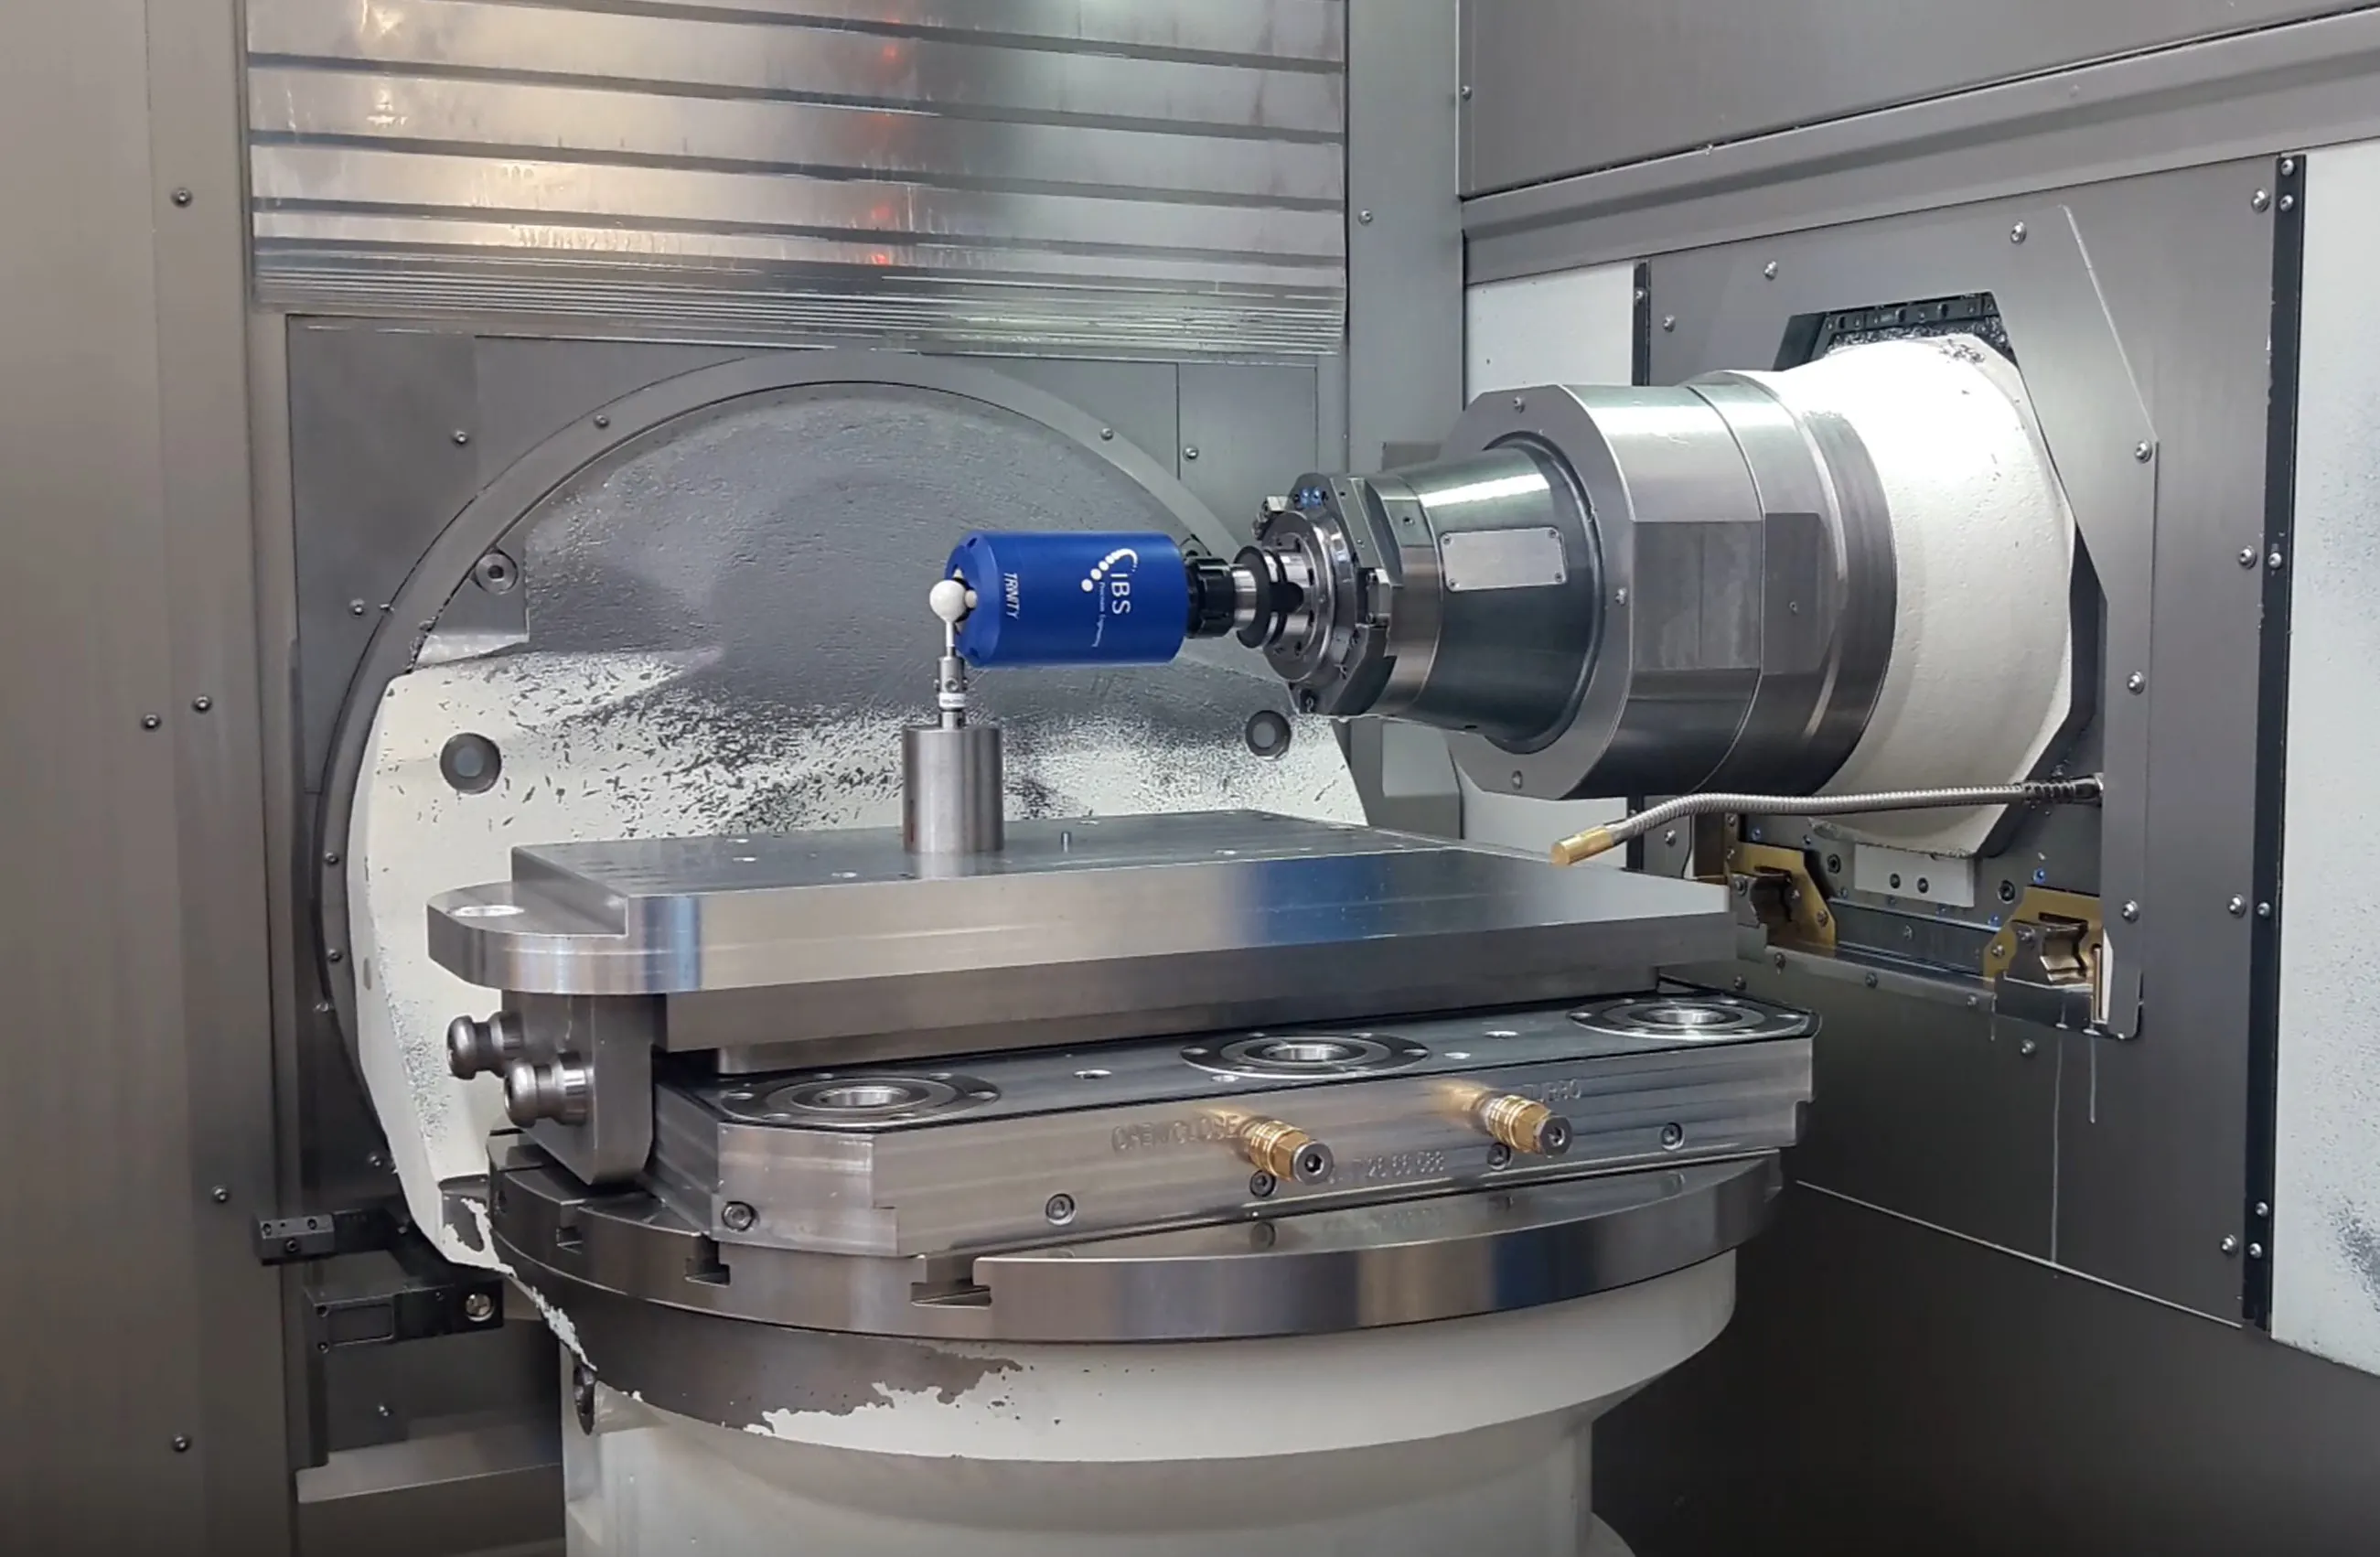
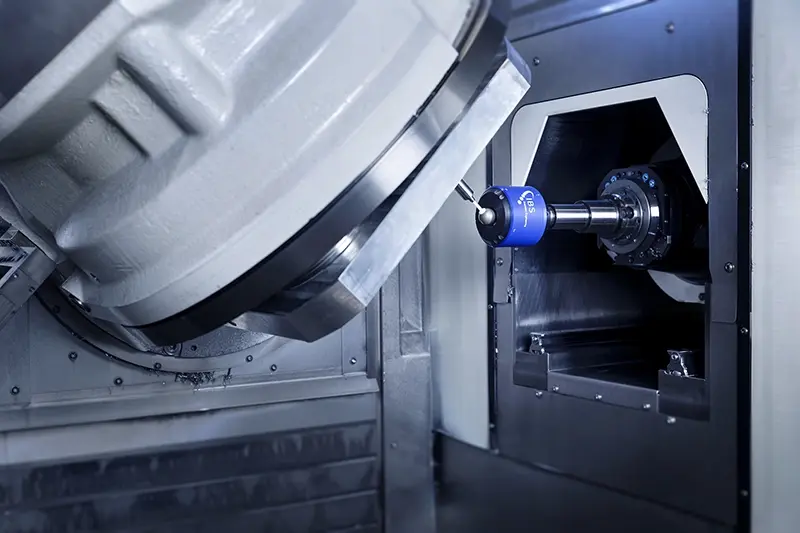
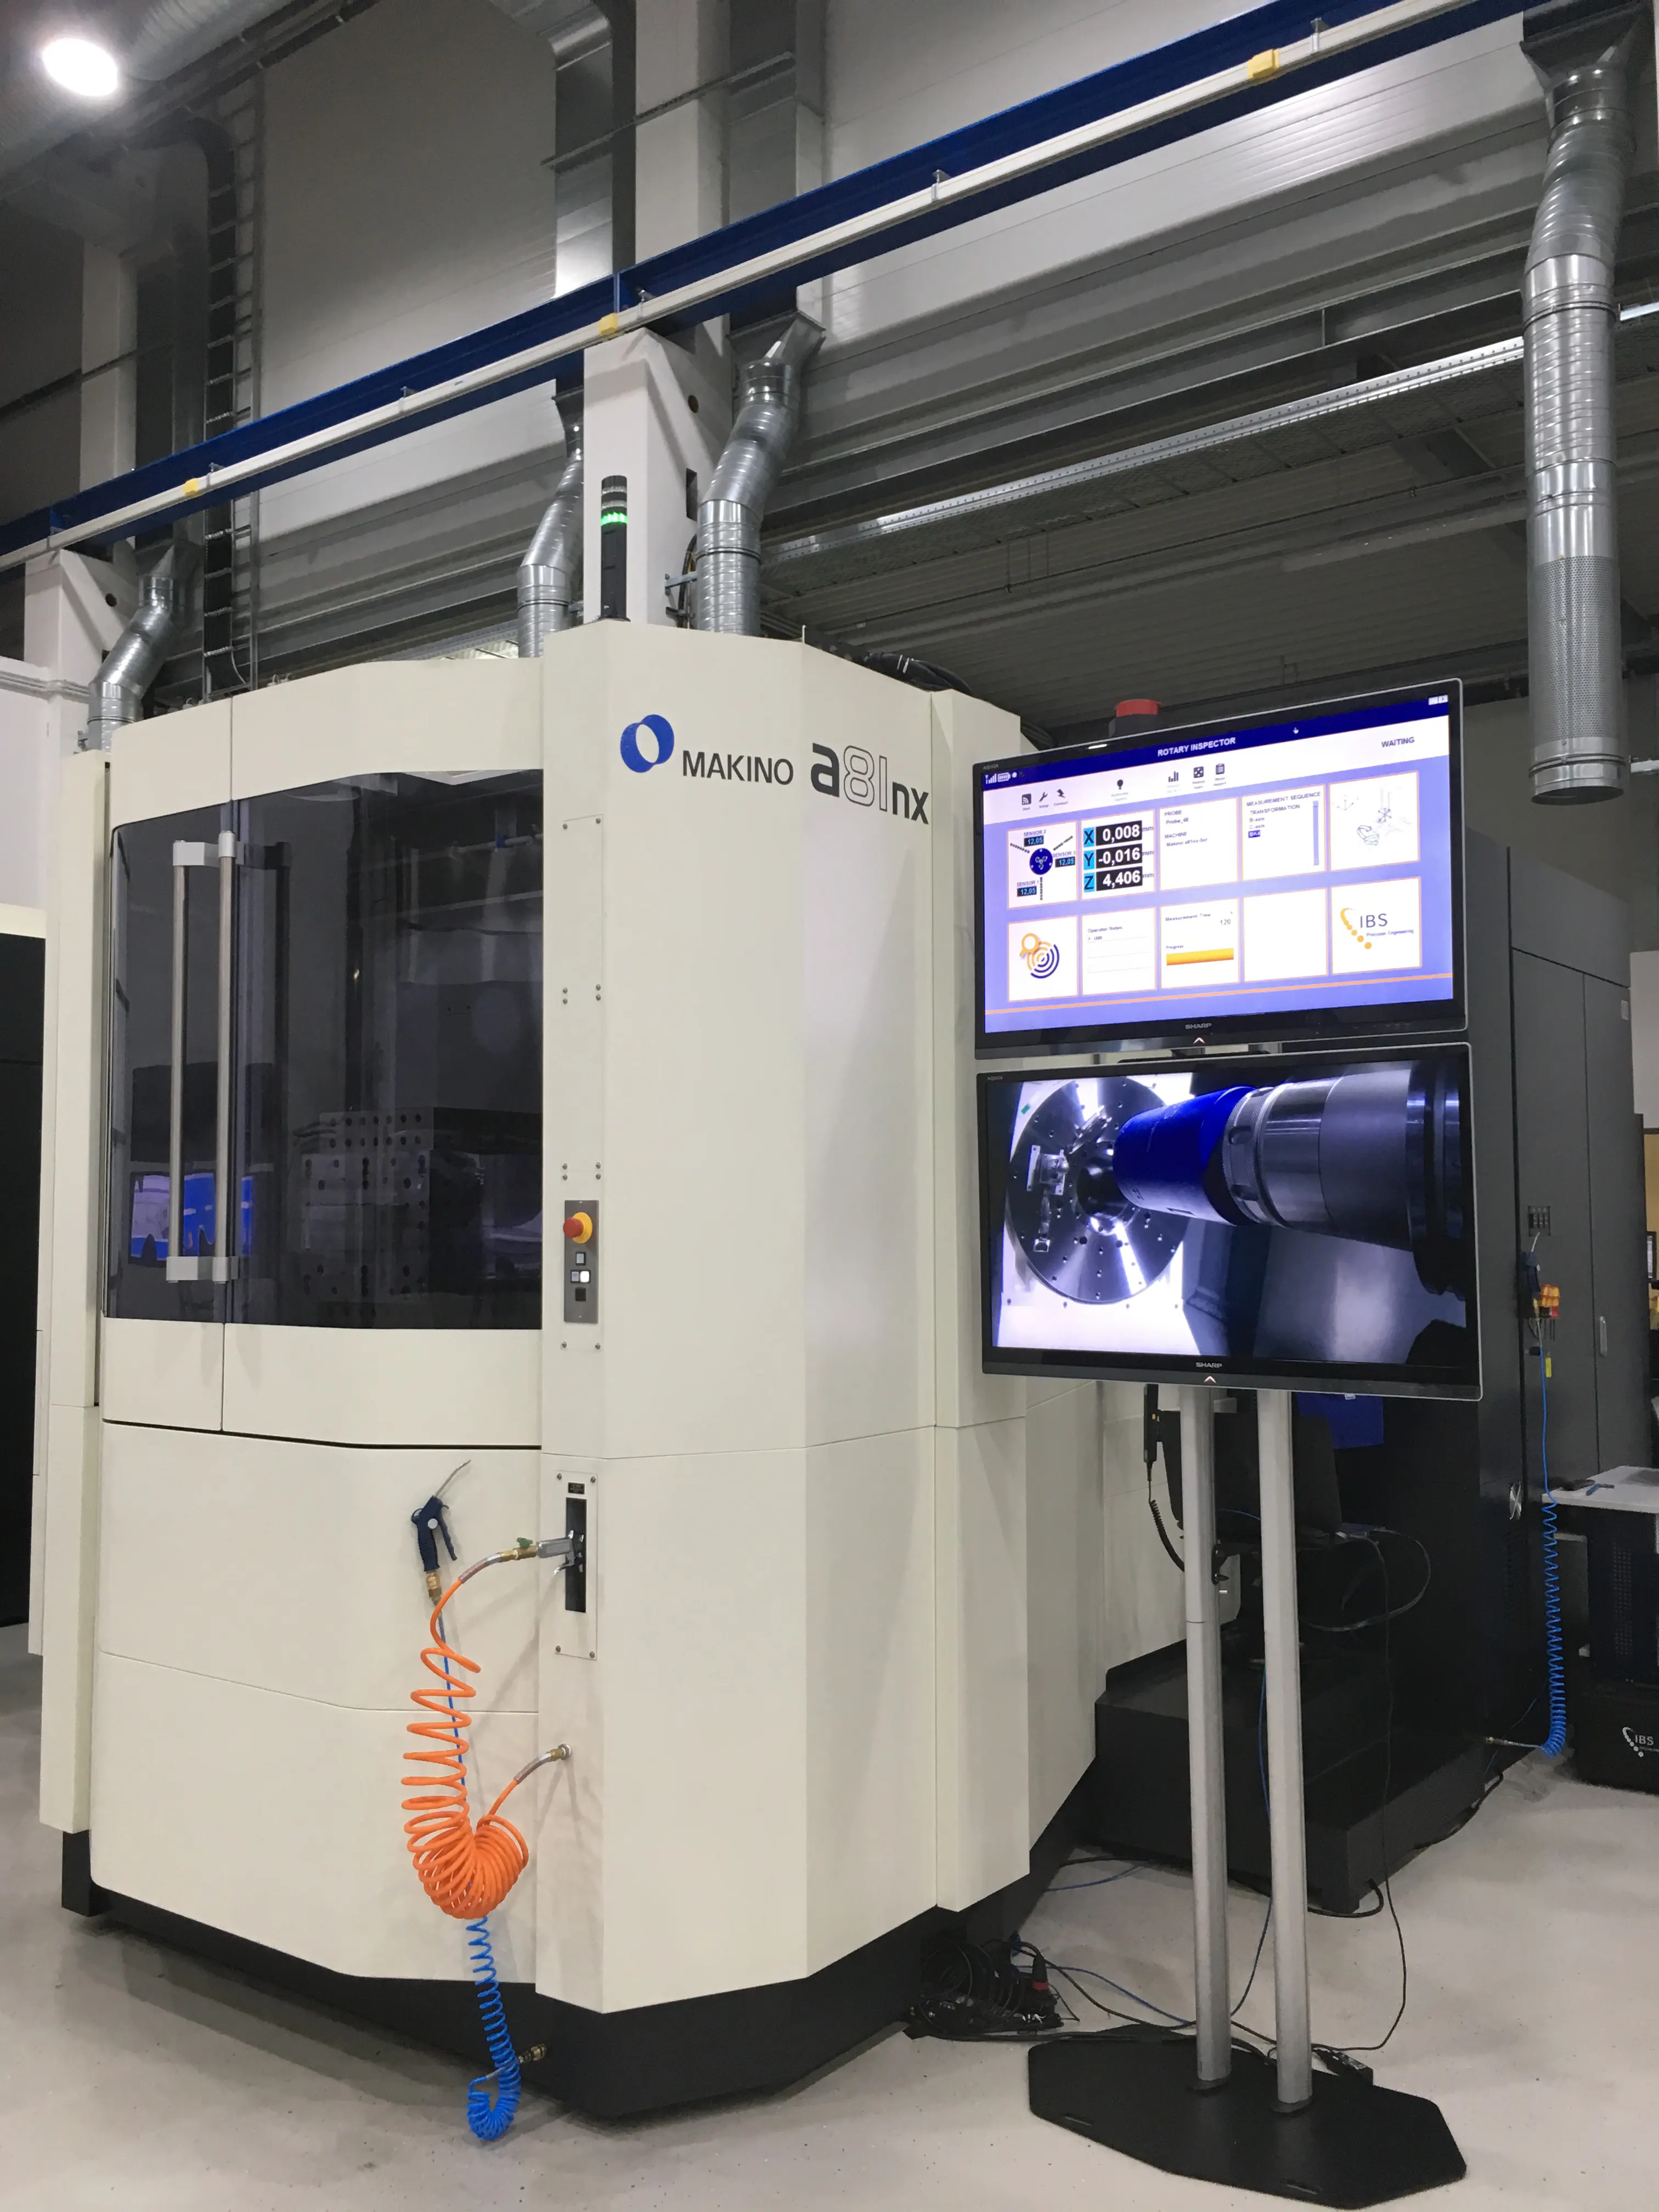
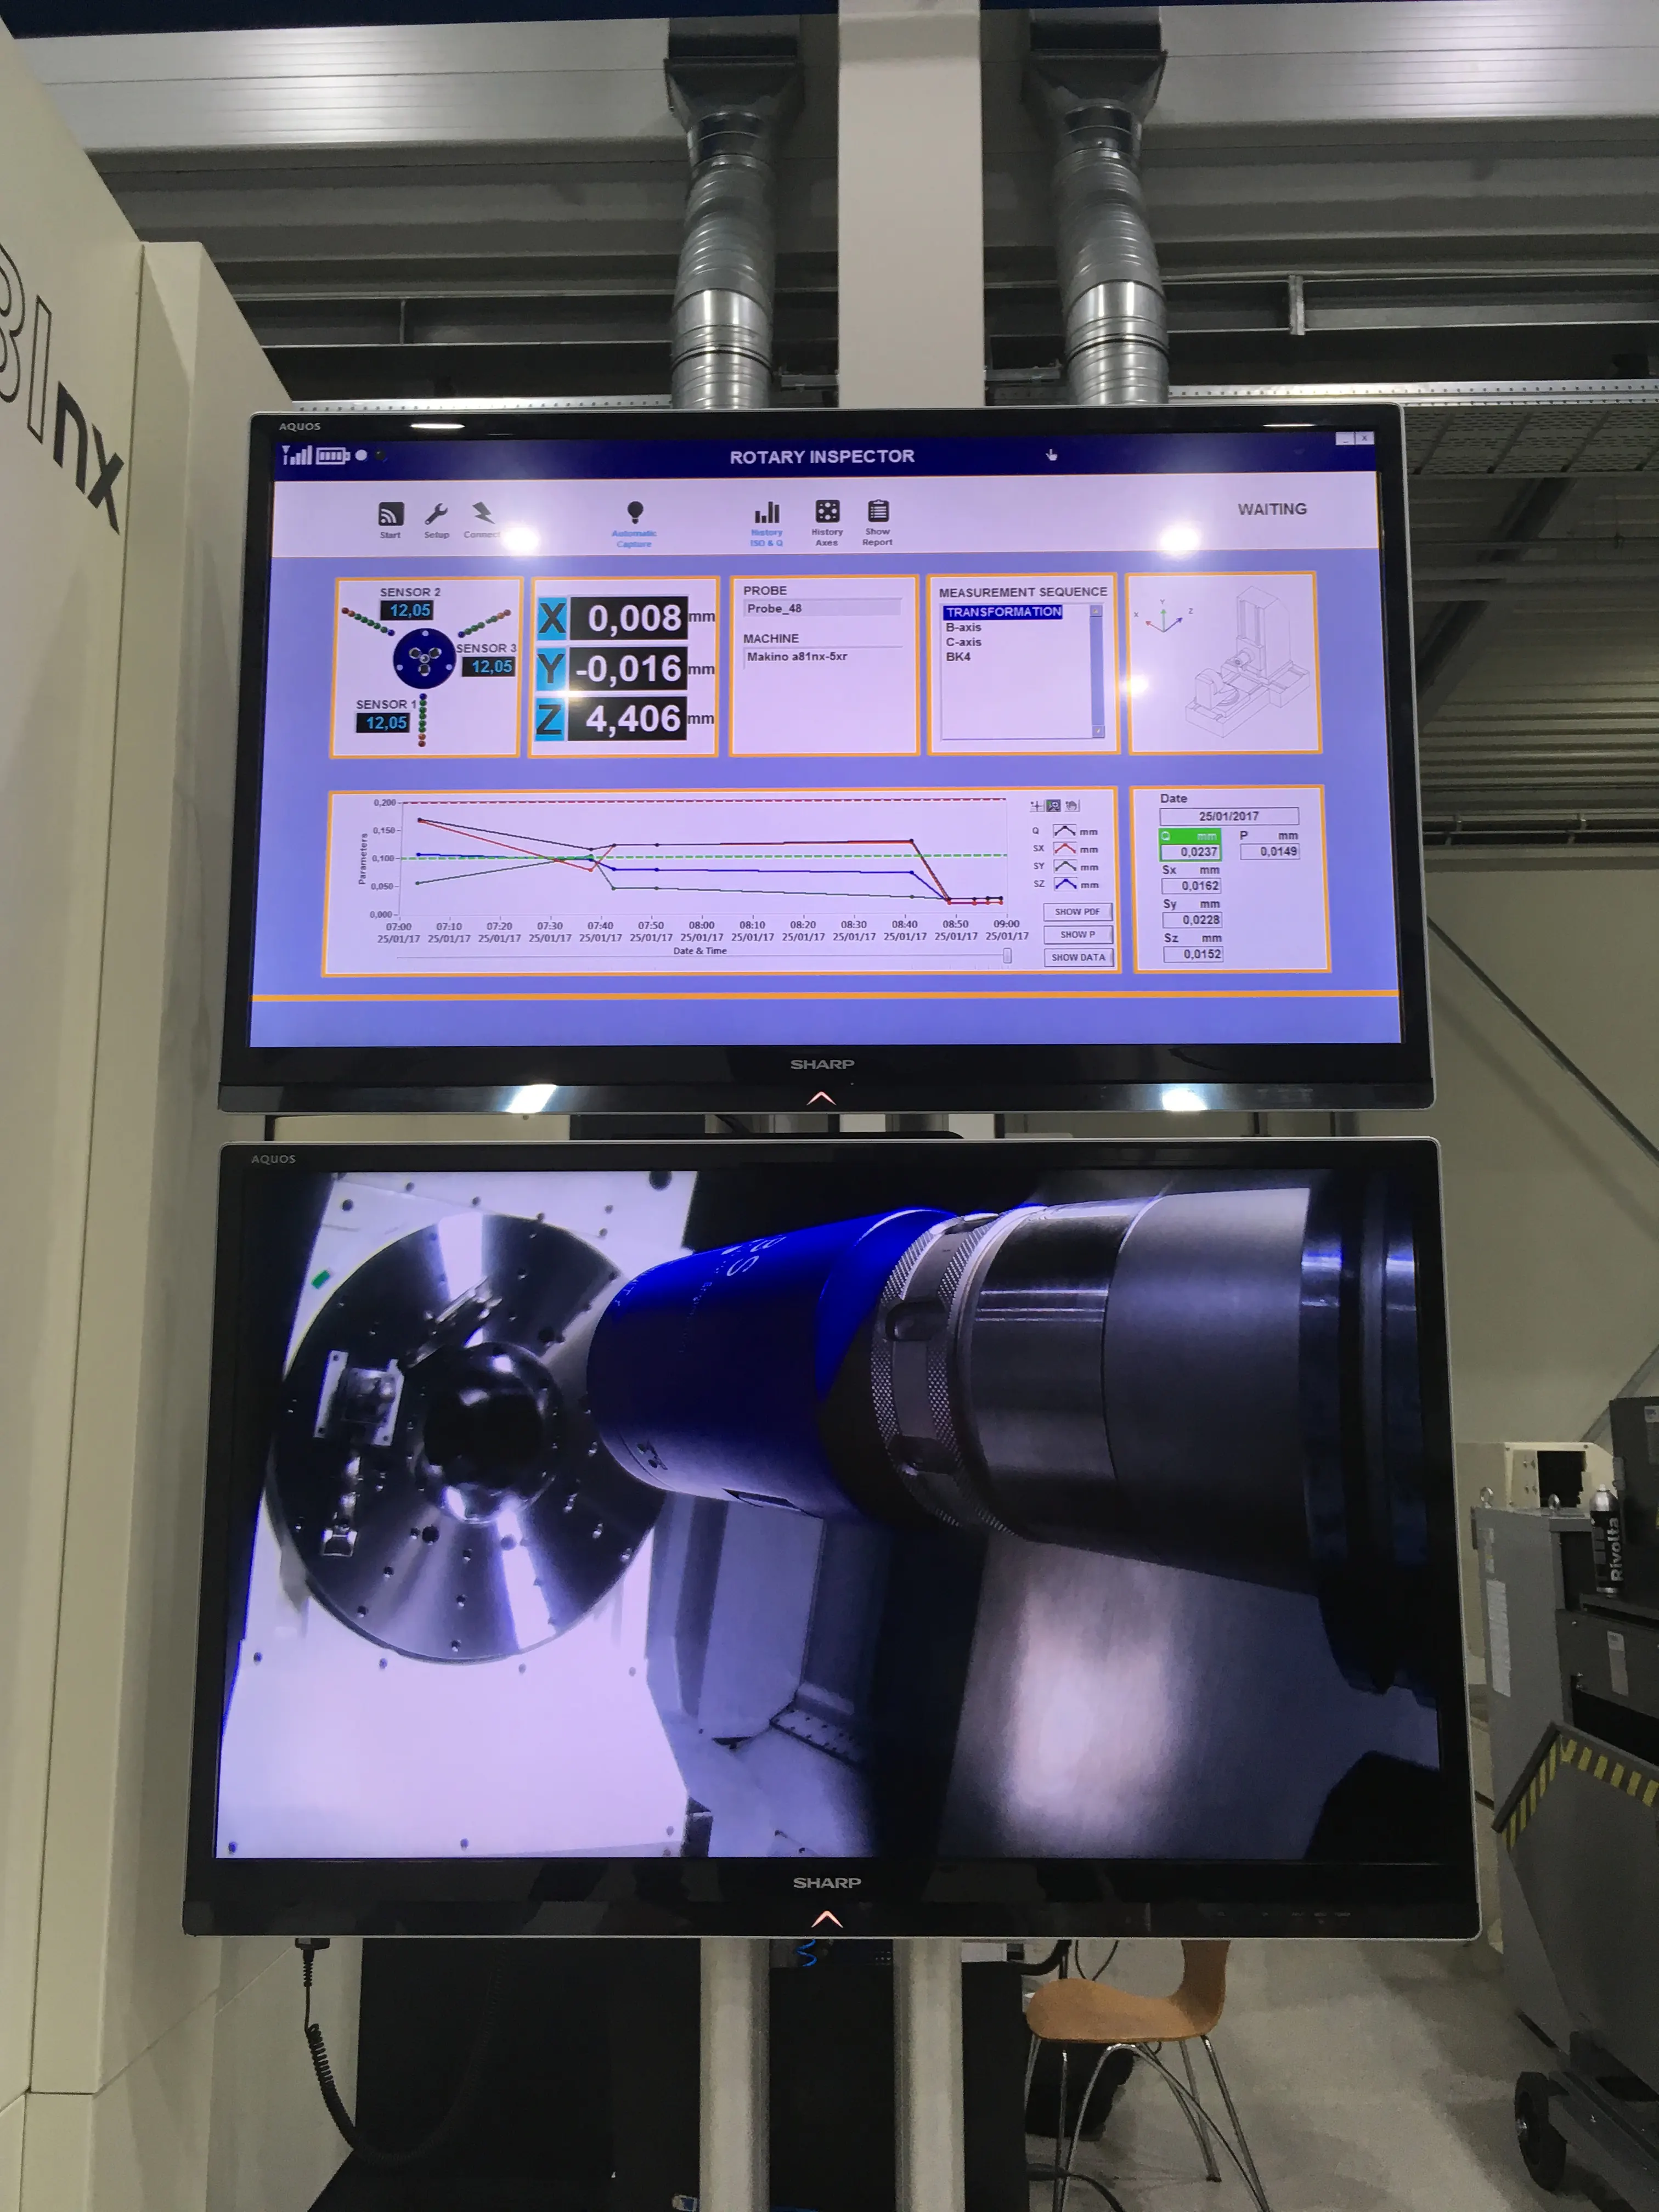
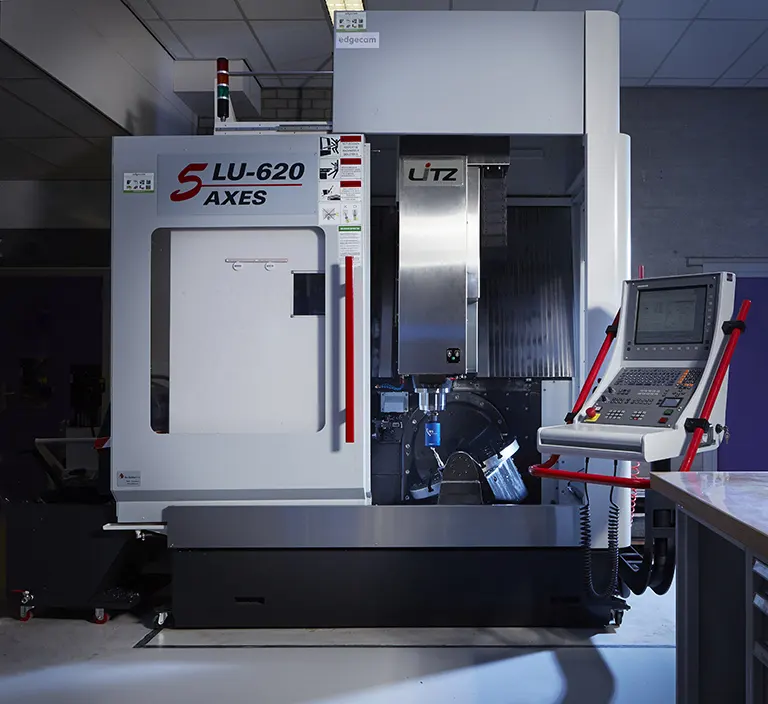
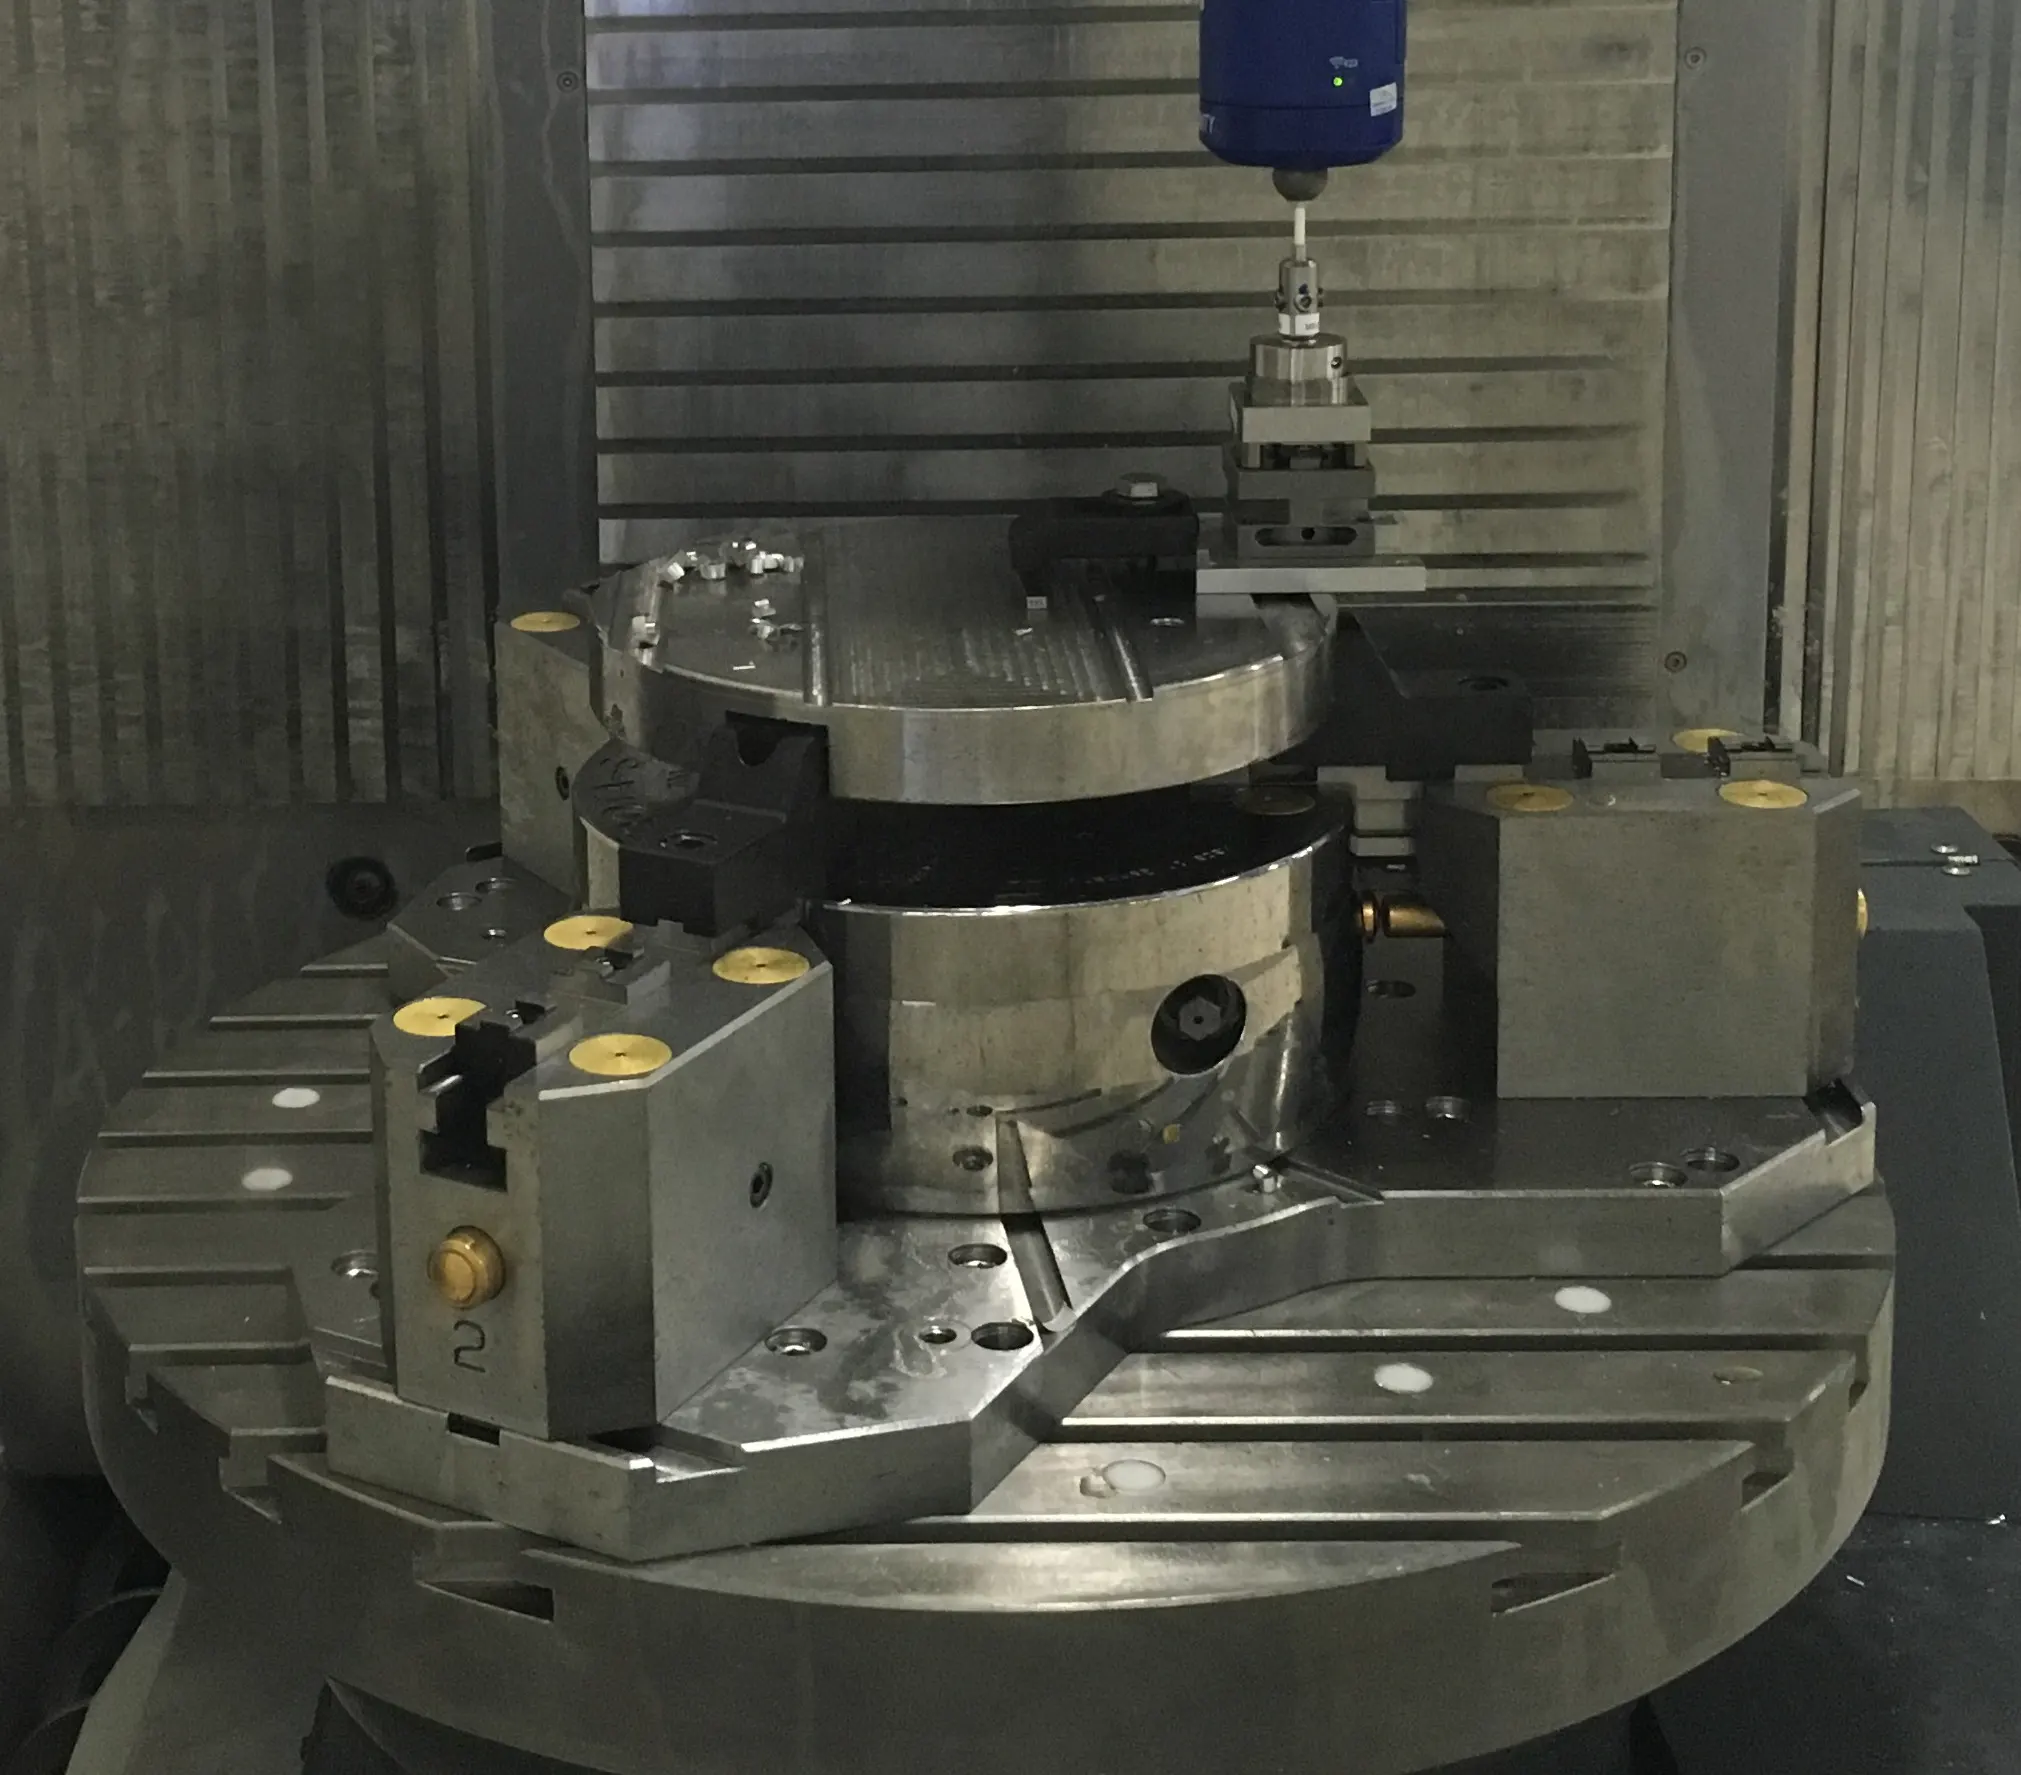
Touch probe measurements are commonly used to correct rotary axis misalignment. However these static measurements do not represent the true dynamic error of the machine. Alternative laser measurements are difficult and slow. The Rotary Inspector measurement is fully automated and completed in under 1 minute.
The Rotary Inspector measurement shows the actual tool path, highlighting other sources of error such as controller settings, dynamic instabilities or bearing performance issue. Rapid measurement allows for tracking of error development over time such as thermal distortion or immediate effects of maintenance actions. A digital quality report is created instantaneously including quality figures (KPIs) for machine geometrical error (Q-value) and dynamic error (P-value).
Unique strengths of the Rotary Inspector:

“For calibration of our machine tools we have been working with the Rotary Inspector and Spindle Check tools from IBS for two years now. Today, the complex geometry of workpieces requires a 6-axis grinding machine and for this we needed a 6-axis calibration procedure, to ensure 25-micron accuracy over the full working range of a machine. Employing the IBS Rotary Inspector we can manufacture products with consistently high quality and precision on all of these machines.”
IBS Precision Engineering is a Siemens Product Partner with regard to our 5-axis machine tool qualification tool, the IBS Rotary Inspector. The Siemens Product Partner program identifies leading companies with recognized expertise in specific fields complementary to Siemens solutions. With the Rotary Inspector, IBS is a product partner to the SINUMERIK product portfolio – where Siemens offers a range of leading CNC controls solutions including premium machine concepts.
